Tuesday, October 18, 2011

Stamped Candles

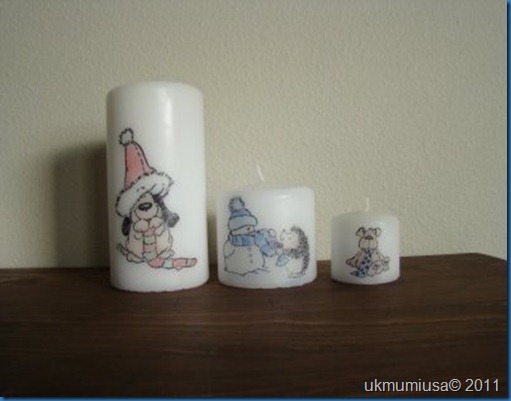
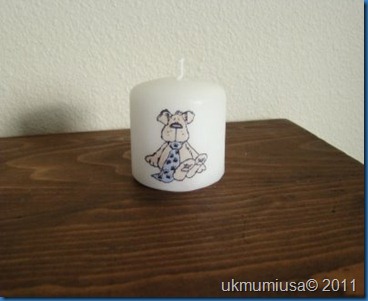
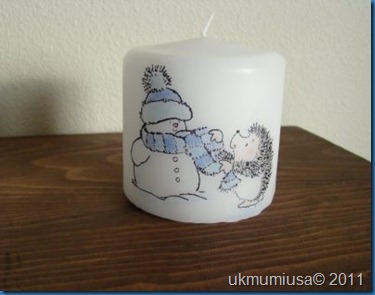
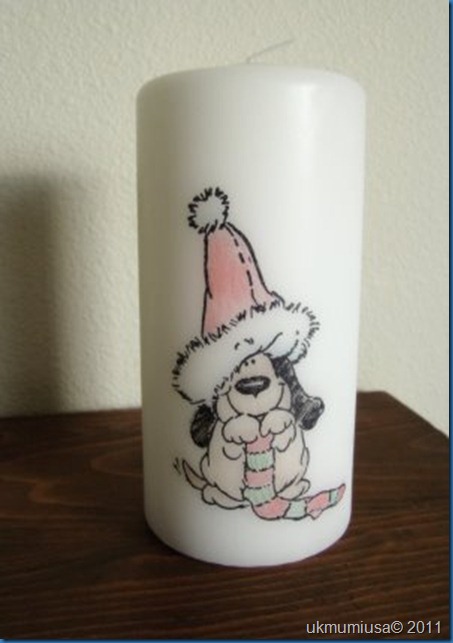
Believe it or not it won't be long until it's Christmas and there really isn't as much time left as you think! So I thought I would repost about one idea you could do for Christmas gifts. Stamped Candles Using permanent ink I stamped my image onto tissue paper, cut out the image leaving about a 1/4 inch gap and then coloured it in with pencils. I then positioned the image onto the candle and then wrapped waxed paper around the candle and started heating it up with my heat gun. The wax from the wax paper slowly melts into the tissue paper adhering it to the candle. You can tell if it working or not as the image changes colour as it melts into the candle. I then took off the waxed paper.

DSC02718DSC02736DSC02737DSC02738DSC02739Monday:

Tuesday: 

Wednesday:

.
Wednesday, October 12, 2011

Dollar Store Pumpkins

Here they are, 5 different Dollar Store Pumpkin Makeovers. These pumpkins have to be the easiest crafting that I have done for a long time, they were fun to do and came together really quickly, my sort of craft!!!


2011-10-09

To see the posts on the above pumpkins with more pics check out the following links:

Scrapbook Paper Pumpkin
Glitter Pumpkin
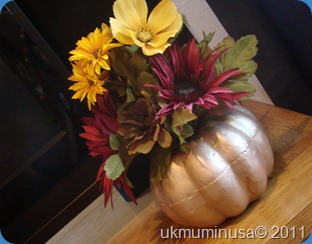
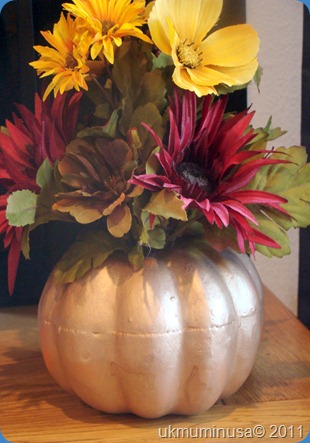
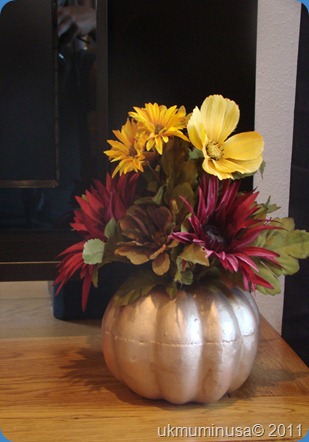
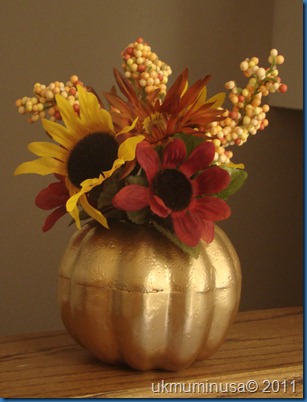
Gold Flower Arrangement Pumpkin
Sparkling Canyon PumpkinCandle Pumpkin

Linking up to:
Wednesday Link Parties : Someday Crafts,, BlueCricketDesign, 733Blog, CreationsByKara


Dollar Store Pumpkin

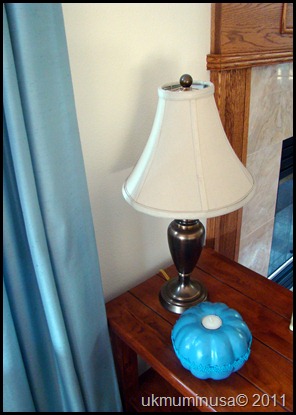
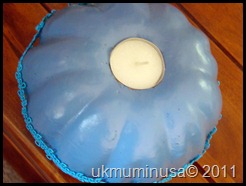
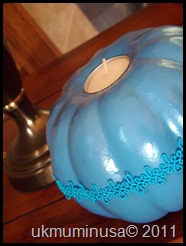
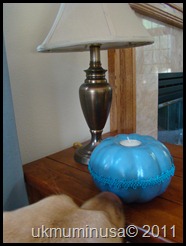
This I think will be my last makeover of a dollar store pumpkin!!!!! This time I painted it blue, to match my curtains!! the candle was very easy to insert I just took a tea light and cut a hole around it and popped the candle into it. The metal tea light casing just fits snuggly and when it is time to change the candle you just pop another one right in there.

DSC00103

DSC00105

DSC00104

Even our dog Murphy wanted to check out this pumpkin!!!!

DSC00102

I would love to see what you have all been up to, please comment so that I can check out your blog, thank you.

Tuesday, October 11, 2011

Yet Another Dollar Store Pumpkin!!!!!

ALL THAT SPARKLES


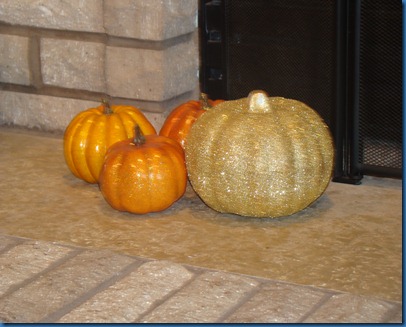
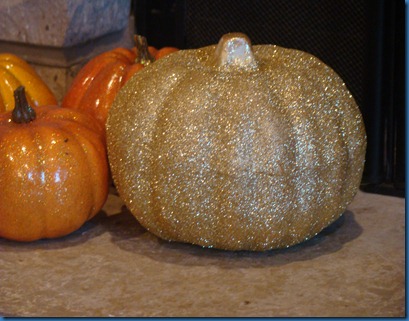
So yet another dollar store pumpkin!!! this was yet another easy project but I love how this turned out. A girl has just gotta love a bit of sparkle! Originally I painted this pumpkin with white primer then used a chestnut brown ink pad to highlight areas, it really did not turn out how I had imagined in my head so back to the drawing board. I sprayed some adhesive onto it and basically just added gold glitter. I used Martha Stewarts glitter as it is very fine and does a really good job at making thinks sparkle just right LOL. I had glitter absolutely everywhere but it was fun to do.


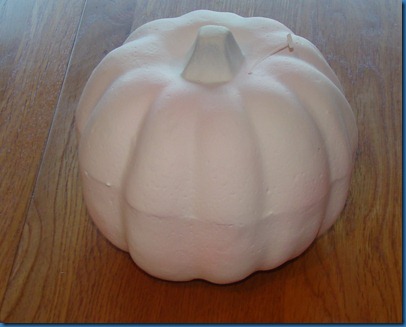
This what it looked like covered in primer, notice I left the little hang thing in, this gave me something to hold onto when I painted it and also when I covered it in glitter, I did remove it once it was finished.


DSC00074DSC00098DSC00100


If you have a makeover of a dollar store pumpkin I would love to see it, please leave a comment to let me know and I can pop on over to your blog to take a peak and if you haven’t please leave me a comment too, then I can visit your blog, it is always nice to know who is visiting me. Thanks


Monday, October 10, 2011

Another Day Another Dollar - Dollar Store Pumpkin

Monday, October 10, 2011


Yes, I have an addiction. Yet another dollar store pumpkin to share with you. Now, if your one of those people who used to like peeling of glue off their fingers when doing crafts as a kid your going to love this one.


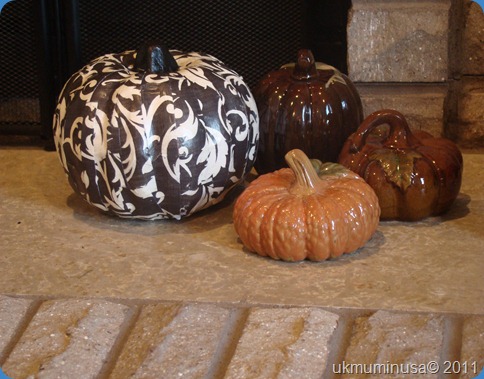
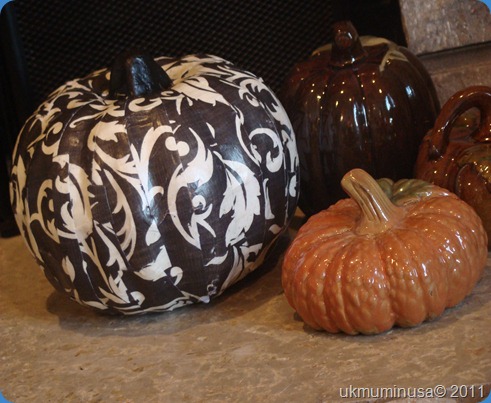
DSC00078 All I did for this pumpkin is cut a 12x12 sheet of scrapbook paper into strips and covered the pumpkin with modge podge and adhered the strips, now you have to be pretty carefull that you do not overlap too much as one sheet of scrapbook paper will only just about do it. If you want to place it safe just get 2 pieces of scrapbook paper and you will have no trouble covering the pumpkin, mine was out of my stash and I only had one piece left of this particular patterned paper. Once you have covered the pumpkin spread modge podge all over it, you will get extremely sticky!!!!


DSC00077


See the other pumpkins in this photo? they were also from the dollar store! $1 each not bad eh?


DSC00079


If you have a dollar store pumpkin makeover to share I would love to see it, leave me a comment so I can pop on over to your blog and check it out.


Linking up to:

The DIY Show Off

Sunday, October 9, 2011

Dollar Store Pumpkin Makeover

Hi Bloggers, well like I said I have become addicted to pumpkins. Namely, the dollar store pumpkins, because after all they are only a dollar each which makes them cheap, cheap and then again cheap. Which for me is a plus, it means I can experiment to my hearts content without costing myself a fortune! and we all like to experiment a bit! So up first is one of the dollar store pumpkins that I remodeled:

Ingredients

  • Dollar store Pumpkin
  • Dollar Store picks
  • Spray paint

I haven’t made a tutorial for making these pumpkins arrangements because they really are so simple to make, its just a case of spraying the pumpkin with paint of your choice, let it dry and then adding the picks into the center, it really is that simple.

Fort his pumpkin I used  Krylon Satin Sparkling Canyon, it looks like a very dull copper in real life

DSC00084DSC00085DSC00086DSC00087


For this pumpkin I sprayed it with Krylon Brilliant gold and used some different picks

DSC00088DSC00090DSC00089DSC00091

If you have done a makeover on a dollar store pumpkin, I would love to see it, leave me a comment and let me know so I can pop on over to your blog and check it out.

Linking up to some weekend linky parties


I heart nap time

The DIY Show Off

Friday, October 7, 2011

Pumpkins Crafts

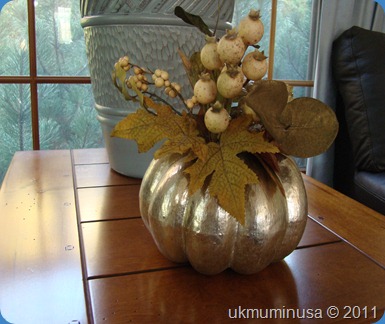
I think I have gone slightly mad, over the last couple of days I have decorated a total of 7 pumpkins! 6 of them are dollar store pumpkins that cost, you guessed it a $1 each. But before sharing the dollar store pumpkins here is the first pumpkin I decorated.   This pumpkin is  the one that got me on a roll with all the others.

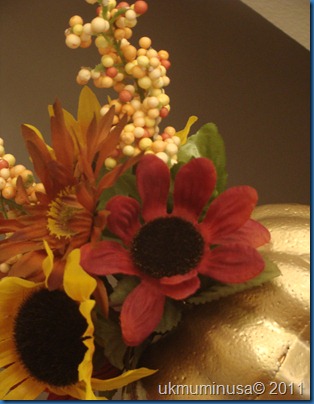
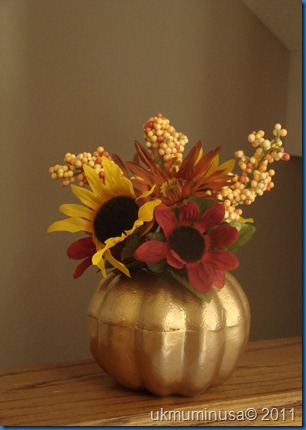
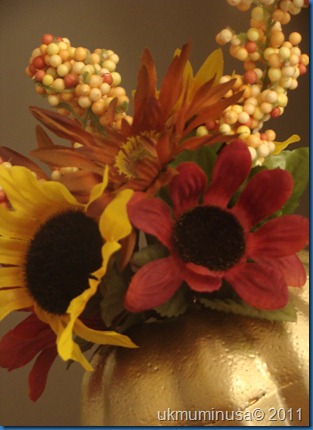
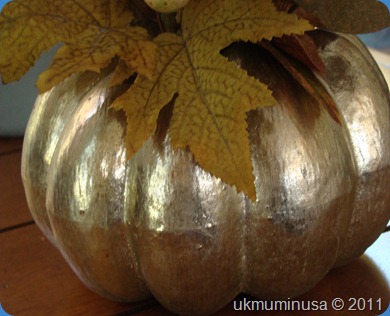
I bought the pumpkin from Michaels which was already gold and basically just added some picks to it, that was it! so easy that if I can do it so can you. So like I said this got me on a roll and now I have pumpkins all over the house!!!! I will share them in the next couple of days.

. DSC00058DSC00059DSC00060
I am linking up to the following FRIDAY LINK PARTIES:

monogramFantabulous Friday!

Fancy This
Related Posts Plugin for WordPress, Blogger...